At first glance it might seem that I am just a happy, normal girl who loves to bake and walk her dog. However, I have suffered with an eating disorder since I was 13. It was only in May 2014 when I realised that this Voice in my head was slowly but surely trying to kill me. And so began the long, hard, and painful journey which is recovery...

I want My Cocoa Stained Apron to be a special place...a place for reflection, memories, shared stories...and of course a little bit of cocoa-staining ;) Recovery might be the hardest thing you ever choose to do in this life. But it is also the bravest and best decision you will ever make.:)

Showing posts with label coconut. Show all posts

Thursday, 23 April 2015

Cinnamony-Coconutty-Carrot Cake!!! :)

I know I am posting alot of fruity cake type recipes at the moment - I hope this is ok with everyone! ;) The reason for this being is that my granny is over visiting us as we speak and she does needless to say love her fruit cakes ;) And here is the cake I made today - a scrummy moist carrot cake flavoured with a wee bit of coconut and a sprinkling of cinnamon! :)
Ingredients..

  • 150 g coarsely grated carrot (I used 2 medium sized carrots. Top the carrots and remove the outer skin before grating them. Dont worry if the amount is a little abbove 150 g of course! :)
  • 2 large eggs
  • 125 ml sunflower oil
  • pinch ofsalt
  • 125 g self-raising flour
  • 1 heaped tsp ground cinnamon
  • 125 g light brown soft sugar
  • 25 g dessicated coconut

Method..

  • Preheat oven to 180c/160c fan. Grease a 20 cm square cake tin. Line the base with baking paper.
  • Sieve the flour, cinnamon and salt into a bowl. Stir in the brown sugar. before you add the sugar, sift through it with your fingers to make sure there are no hard little clumps. Crumble these between your fingers so that they disintegrate into fine grains if you come across any.
  • Beat the eggs lightly in a jug. Make a well in the centre of the dry ingredients. Add the beaten eggs and the oil. Mix well with an electric mixer for about three minutes until well blended. Pause the mixer and scrape down the sides of the bowl halfway through the mixing to assure it is all nicely incorporated.
  • Using a large metal spoon, fold in the grated carrot and the coconut.
  • Transfer to the prepared tin. Bake for 20 - 25 minutes, until risen, golden and slightly firm to the touch. 
  • Cool in the tin and then cut into 12 (or 9 or 16, depending on how big or small you want them:) ) squares. Once cool , store in an airtight container, preferably in the fridge, and eat within three days. The carrot cake is so moist that it usually doesn't keep as long as other cakes might, especially in warm weather! So be sure to eat it up when it;s still lovely and fresh :)

Sunday, 14 September 2014

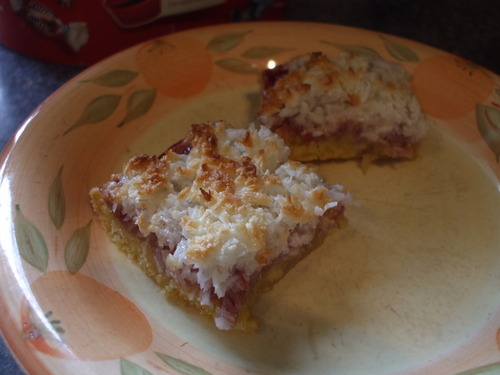
very sticky coconut slices...

image
imageimage

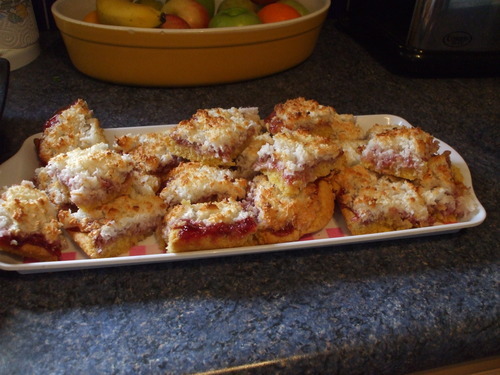
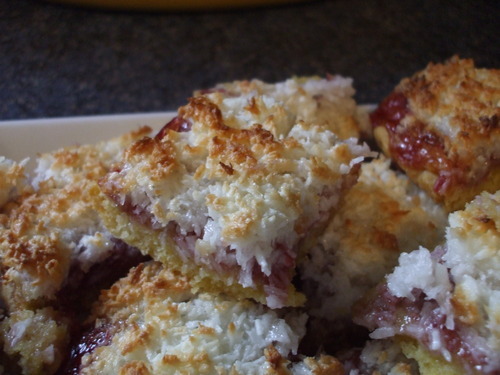
These are surely, one of those bakes that really, really have stood the test of time...they are so classic but oh so scrumptious, and have lost absolutely NONE of the appeal that they had years ago I say. There is most certainly a good degree of stickiness involved, eating these. What with that soft buttery pastry, the gorgeously sweet raspberry jam, and that divine layer of dessicated coconut to top it all, you might well need a napkin - or two if you're like me and are inclined to dive back in that tin for more. ;)
I usually cut mine into roughly about 20 slices - 5 cuts across the cooked cake lengthways, and then 4 widthways - or 16 squares if I feel there is a need for them to be larger than usual. Though of course you can cut them as little or as large as you like. :)
Ingredients
  • 2 large eggs and 1 large egg white. (But don't discard the yolk...they are useful for so many things. Put the spare one in a small bowl and add a tablespoon of water. It will keep in the fridge for a few days. See my list of egg yolk recipes (forthcoming ;) ) for ways in which egg yolks can be used. It might be of use to you if you make meringues etc and have a load of egg yolks leftover.
  • 150 caster sugar
  • 100 g butter, diced
  • 150 g dessicated coconut
  • About 8-9 generous tbsp raspberry jam (or blackcurrant and strawberry might be nice...but raspberry is definitely my favourite for these. :) 
  • 200 g self-raising flour
  • 2 tbsp very cold water
Method
  • Grease a baking tin/roasting tray (a rectangular one is best: mine is about 28 cm x 18 cm.) and line with baking paper as the slices are VERY sticky as already mentioned. ;) Preheat oven to 180c/160 c fan.
  • For the pastry base: Sift the flour into a bowl and add the diced butter. Rub in very lightly using your fingertips until the mixture resembles fine breadcrumbs, with no lumps of fat.
  • Lightly stir in 50 g of caster sugar and make a well in the centre of this dry mixture.
  • Separate the 2 whole eggs, adding the whites to the 1 extra one. Be very careful when you are separating that no trace of egg yolk leaks into the whites.:) (Ganache-Elf tip. I have never been able to separate eggs the way you see the pros do it on the telly. And I am sure most of you have your own way of separating eggs which is far better and more effective than mine. But anyway JUST in case you don't...I like to crack one egg into a small bowl (cracking its shell by tapping it hard on the edge of the bowl). Next, I place an egg cup over the egg yolk and then tip the bowl at an angle over another larger bowl, so that the egg white separates easily from the yolk and slides into the bigger bowl. Then the egg yolk is put into another separate bowl (I know...this way probably does create alot of washing up, but anyway... ;) ) before I move on to separate the next one.
  • Slide two of the egg yolks into the well in the centre of the flour, and then add 2 tbsp very cold water. Mix with a flat bladed knife at first until the mixture starts to come together, then use your hands to gather it together into a soft ball. If it feels a little dry, add a few teaspoons of water. The dough should feel soft and slightly moist, though not overly sticky. 
  • Press the dough out evenly into the baking tin with your hands. Pop it in the fridge to rest for a little bit while you make the coconut topping.
  • For the coconut topping, whip the 3 egg whites in a clean bowl to stiff peaks. If you tip the bowl slightly, the whipped whites should reamin in the bowl, not moving - nothing should run out! Fold in the dessicated coconut and the remaining 100 g sugar. 
  • Take the pastry out of the fridge and generously spread over the jam. Then spread over the coconut topping to evenly cover the jam layer.
  • Bake for 15 - 20 minutes. The coconut should be beginning to turn golden, but should not be too dark. Remove from the oven and leave to cool in the tin.
  • Cut into squares/rectangles using a very sharp knife when cold. They are gorg with a cup of tea, or deliciously decadent splodged with custard for a cheeky pud. ;)


Wednesday, 10 September 2014

Carrot, coconut, cinnamon...and a wee bit of ginger too. :)

imageimage


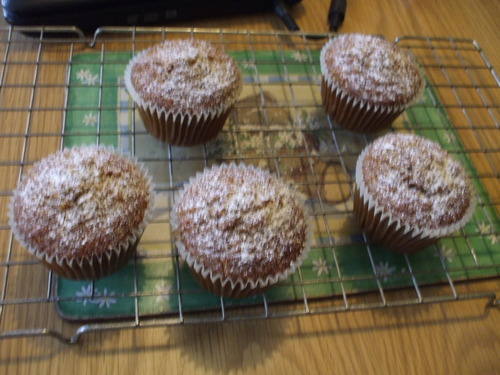
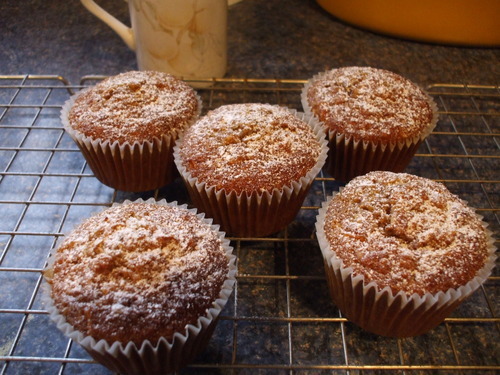
These little guys were rustled up today in my spare time…well we have just had our first (hoorah!) long-awaited glut of carrots from the garden…but I’m afraid I wasn’t permitted to use THEM in the featured cupcakes above, oh no. You see carrots were on offer this week in Aldi, so in the fridge we already had tonnes of these wonderful orange vegetables, and then just today daddy comes in through the back door of the house with his arms full of homegrown ones. Which we are having later on for dinner, btw – so it was up to me to use up those ones in the fridge, some way. Well, what better way than carrot cake? But hang on – these are even better than carrot cake…light scrumptious little cupcakes packed full of grated carrot, ginger, cinnamon..and one of my alltime favourite ingredients…dessicated coconut.
Ingredients
About 2 - 3 carrots, depending on size: you need approx 150 g worth of grated carrot. 
110 g soft light brown sugar
6 tbsp sunflower oil
30 g dessicated coconut 
1 large egg
1/4 tsp bicarbonate of soda
1 tsp ground ginger
1 tsp ground cinnamon
75 g self-raising flour
Pinch of salt
A little icing sugar for dusting
Method
 Line a muffin pan with 6 paper muffin cases. Preheat oven to 170/150c fan.
Sift the flour, bicarbonate, salt and spices into a small bowl.
Beat the egg in a separate bowl with a wooden spoon or electric mixer and add the oil and the sugar. Mix well once more until well blended.
Top and tail the carrots, peel and then coarsely grate them (ganache elf tip: prepare them just before you need them so you don’t need to worry about them going brown or storing in water to prevent that. ;)
Add the carrot, coconut, flour, bicarbonate, spices and salt to the egg mixture and fold in with a large metal spoon.
Carefully fill the muffin cases with the mixture (I usually pour straight from the bowl – but you can use a spoon if you would prefer…but the mixture is quite sloppy so be warned ;) ). Place the tray in the preheated oven and bake for about 20-25minutes, until well risen, light golden brown and springy to the touch.  
Leave in the tin for about 5 mins before removing carefully and placing on a wire rack to cool. dust with icing sugar before serving. They don't keep very long because they are so moist and are low in fat, so try to eat as fresh as possible - bit they should be fine kept in an airtight tin for up to four/five days. :)


Thursday, 28 August 2014

Lamingtons and lettuces...

Today was another busy day in the kitchen of Ganache-Elf...
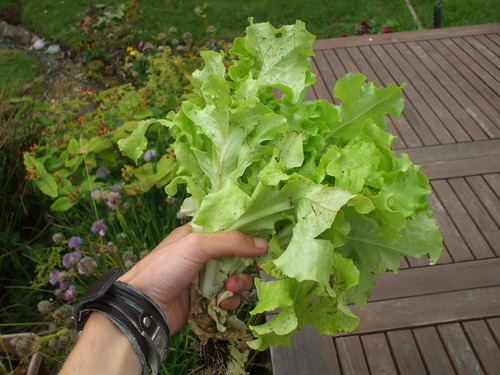
And not just with cooking and baking, actually. Well, of course I was doing just that, but also...the washing of those homegrown lettuces took longer than one might think. ;)
image
image
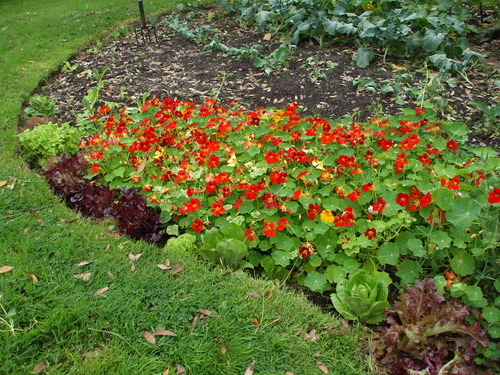
Now please believe me when I say that this is actually my garden, and these are NOT shop-bought lettuces. I don't think the lettuces you'd buy in Tescos or Lidl or wherever would be as green as that anyway...
Our garden has always been something of a picture in the summer: chives and nasturtiums and forget-me-knots spring up out of nowhere, even though we never plant them. And my Dad has always had "green fingers", anyway: so alongside those we would always have geraniums and sweet peas and petunias, to name but a few: I could go on and on about the flowers, as I adore them; but since this is a cooking blog and not a gardening one I may restrain my love of flowery things for now and stick to the point. Though I did read somewhere that nasturtiums and dandelions are a very good and healthy addition to salad. I haven't been quite so adventurous to try this out yet, though, but give me time.
Tonight we were having a barbecue, which of course called for a masive bowl of lettuce and tomatoes and beetroot and onions all mixed together to form a wonderfully colourful summery salad. So out I toddled, barefooted, into that grassy haven which is my garden, making a beeline for the plot where the nasturtiums and the lettuces grow in abundance. There is something so, so special about picking your own vegetables. And eating them, of course. Even if it is only lettuce, which personally isn't, to me, the most exciting of vegetables, tatse wise. But anyway, that aside, these lettuces are different. They are just...so green. And on being livened up with a homamde salad dressing, a salad is really and truly made so much more than just a salad.
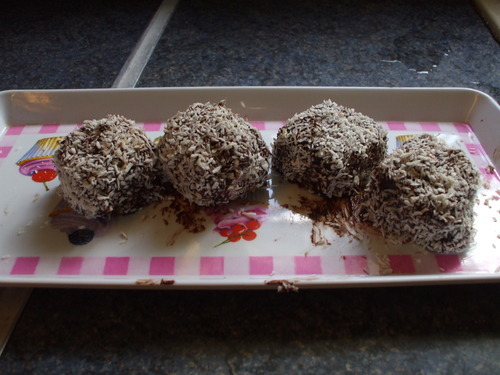
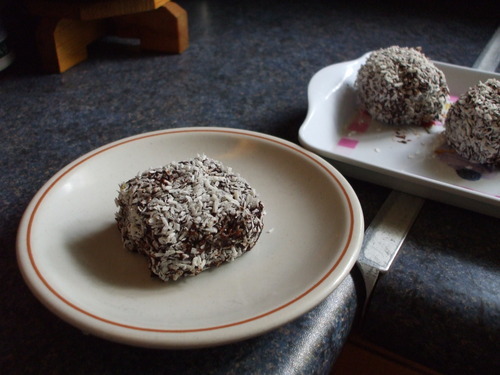
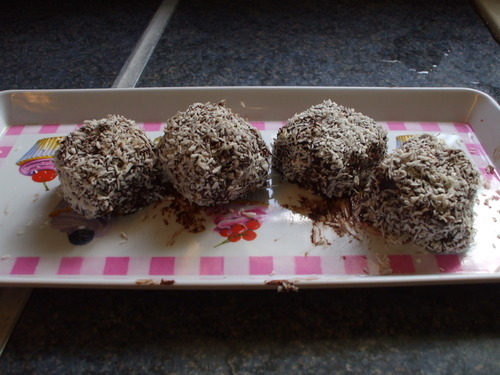
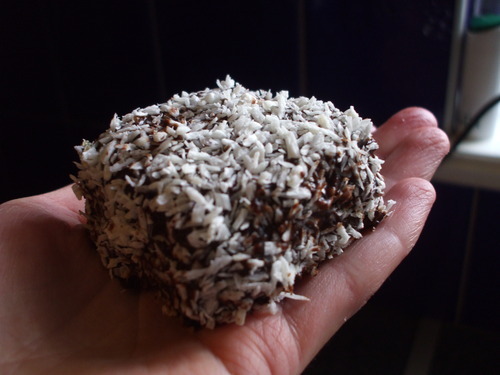
Now, onto baking. I'm not entirely sure whether these super-cute little cakes in the pics below are familar to many bakers or not. I certainly hadn't heard of them before. My recipe says they are an Australian favourite. Lamingtons - a great name for a cake, though. I think it was some general guy they derive their name from; all I can say is, if I discovered such awesome cakes were named after me, I would feel very honoured and pretty special indeed. And they are just sooooo fun to make!
image
image
image

image
It's basically a vanilla sponge, baked in a square tin for a nice even shape, then cut into smaller squares which are dipped in a big bowl of chocolate icing; then rolled in dessicated coconut for that special finishing touch. My impatience got the better of me again though, I'm afraid. Ideally, the sponge should be left overnight before slicing so it's less crumbly and doesn't disintegrate on you when you go to coat it in the icing. But once again I was in so much of a hurry to get my creations finished and sampled, I made my icing a few hours after the cake had left the oven. But don't worry, if you are like me and just can't wait, the results are never completely disasterous. Far from it in fact. Your squares might not be quite as neat as the photo with your recipe, and you might end up with lots of little crumbs in the icing, but I can guarantee that you will still be pretty much satisifed with yourself after doing these. Of course, after dipping in my last square, I was delighted to discover that there was just a little bit of chocolate gunk leftover, interspersed with the bits of the lovely vanillaley sponge which had fallen off the cakes as I dipped and dolloped them in. I didn't mind the fact that I couldn't have a square straightaway - unless you used a spoon, eating one of those with the icing still runny could transpire into a very messy and sticky-fingered affair (not that that's really such a bad thing... ) - for cleaning my bowl of "leftovers" kept my sweet tooth perfectly in check (for now that is.)  General Lamington, whoever you may be, I salute you! :)